

Prerequisites
- A Google account. Google is the only way to sign in to Auxilian.
- A Claude plan that supports custom connectors, or another MCP client that supports remote servers with OAuth. See Other MCP clients.
Set up Auxilian
1
Sign in
Go to app.auxilian.ai and sign in with Google. On your first sign-in, Auxilian creates a personal workspace named after you, such as Ada’s Workspace, and makes you its owner. If you were invited to someone else’s workspace, you join it instead.
2
Create a project
On the Overview page, select New project. Enter a name (up to 80 characters) and an optional description (up to 200 characters), then select Create project.The project is an empty Postgres schema. You can add tables in the web app, but the rest of this guide has Claude do it.
3
Copy the MCP server URL
The server URL is the same for everyone and every workspace:You can also copy it from Settings > Connect via MCP in the web app.
Connect Claude
1
Add a custom connector
In Claude, open Settings > Connectors and select Add custom connector. Name it
Auxilian and paste the server URL.2
Sign in and approve
Claude opens a browser window. Sign in with the same Google account, then review the approval page and select Allow.The approval page shows which app is asking, the account it will act as, and whether it can make changes. See Approvals and access.
3
Check the connection
Start a new chat and ask:Claude calls
list_projects and names the project you created.Build a table by conversation
Ask Claude to design and fill a table:list_projectsto find the project idcreate_tablewith columns such astitle text,author text,finished boolean,rating integer, andfinished_on timestamptzinsert_rowswith the three books
id (a uuid primary key) and created_at (a timestamptz set to the insert time).
See the result
Open app.auxilian.ai. The project now lists thebooks table in the sidebar.
- The Schema tab shows the table and its columns.
- Select books in the sidebar to see the rows Claude inserted.
- The Activity tab shows
table.createdandinsert_rowsevents with the surfacemcpand your name as the actor.
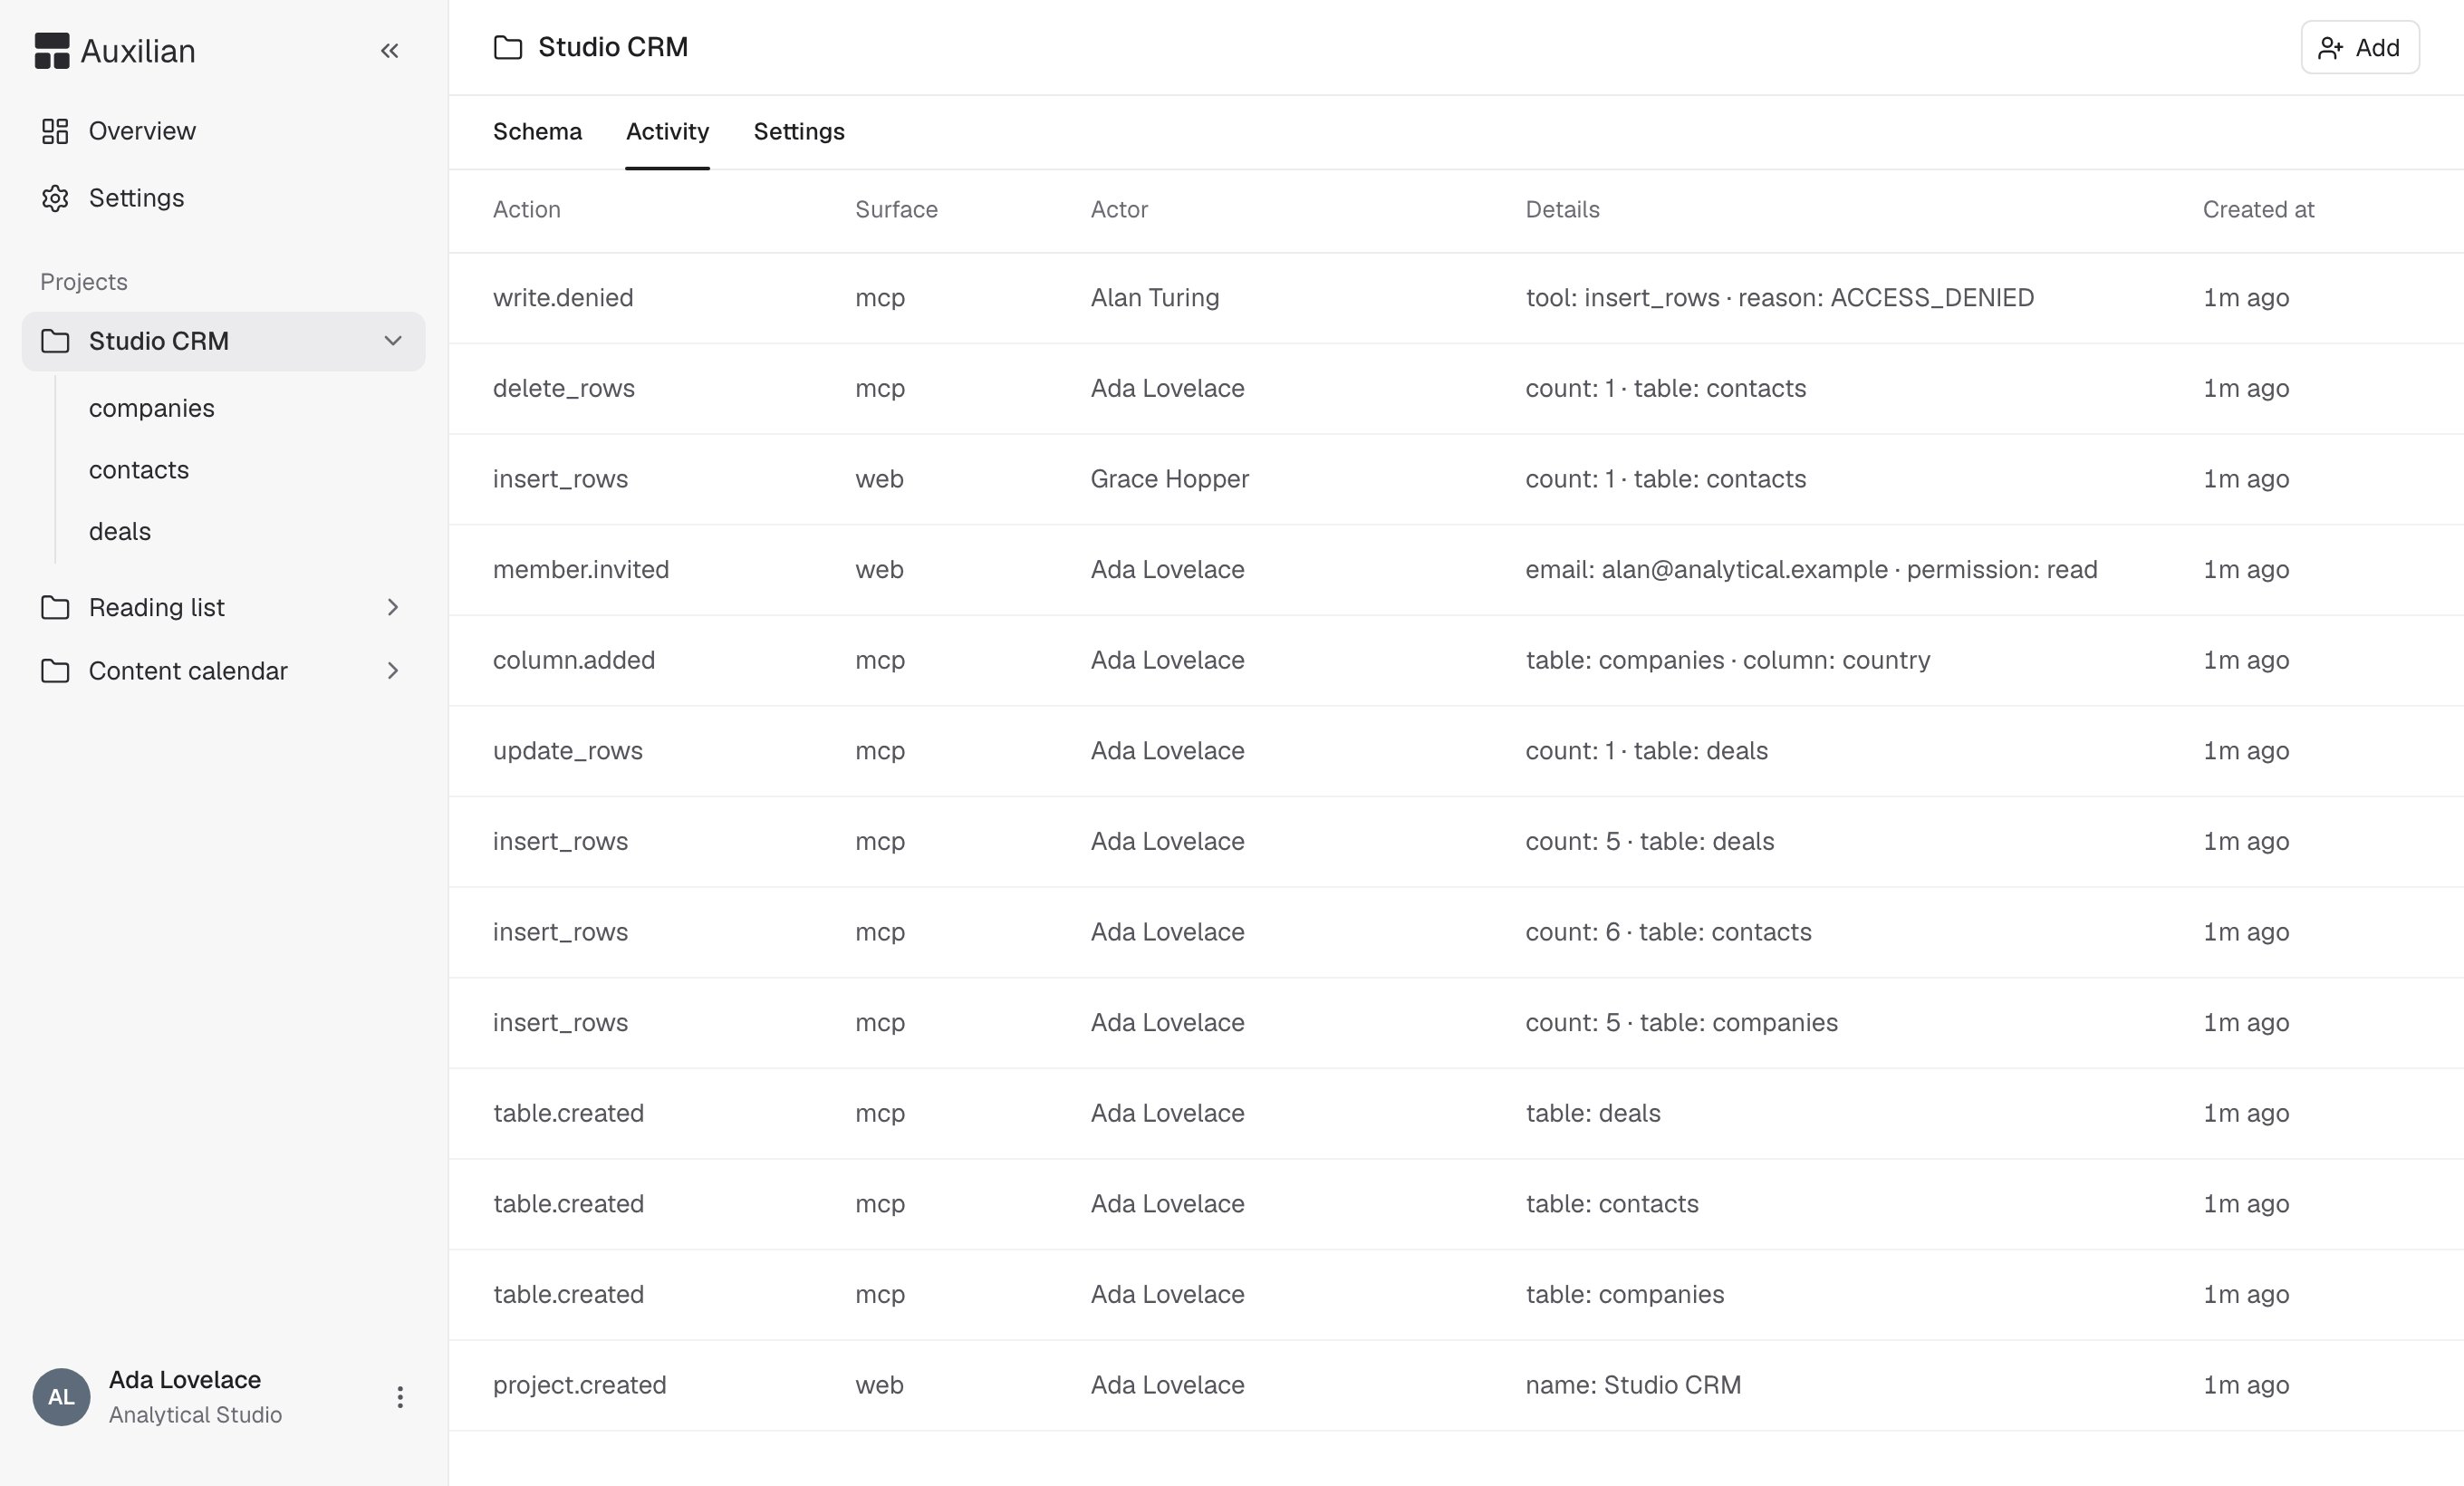
The Activity tab shows what Claude did, attributed to you.
You now have a Postgres table that you and Claude share. Edit a row in the web app, then ask Claude about it. Both surfaces read the same data.
Next steps
Working with Claude
Prompts and habits that get good results.
Share a project
Invite teammates and grant read or write access.